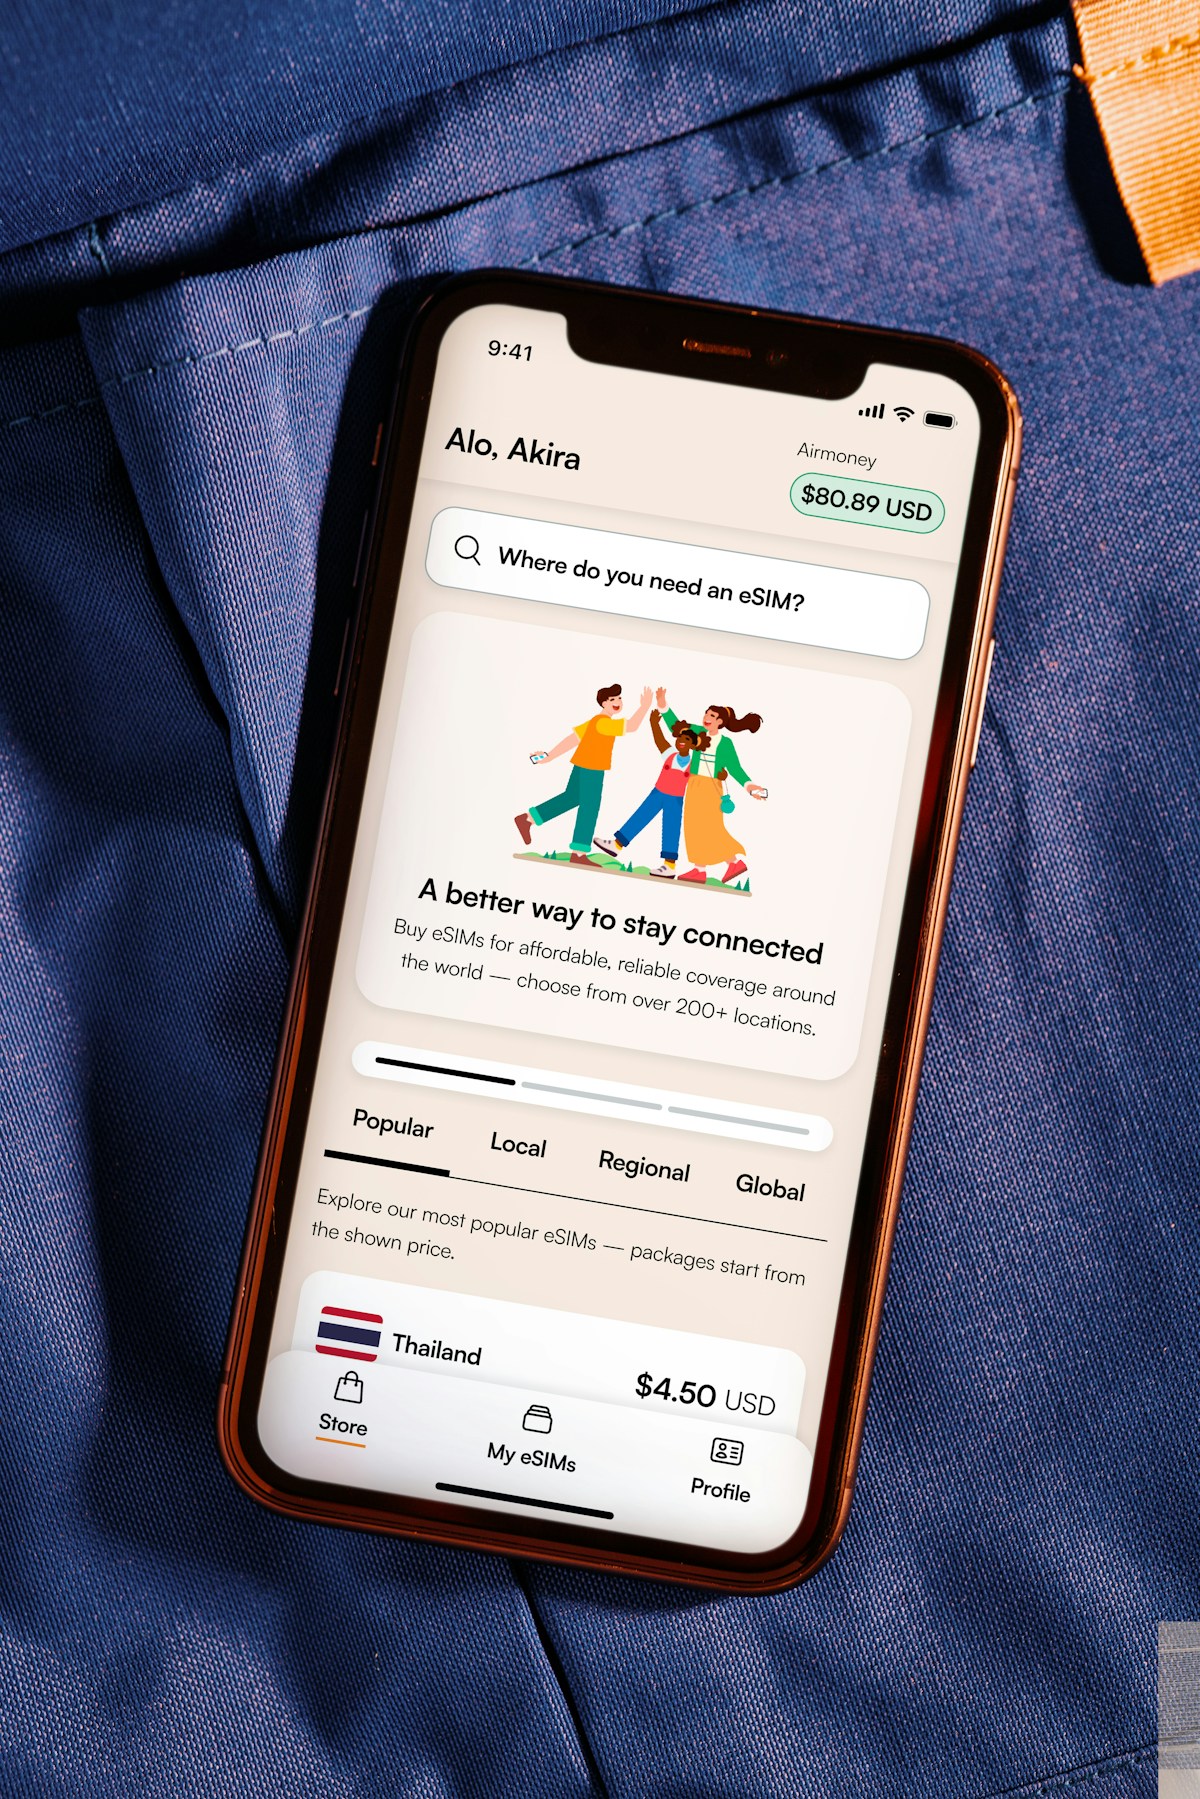


Preparation: what you need
It's best to set up the eSIM at home on stable Wi-Fi — your phone needs an internet connection for this. You also need an eSIM-capable, unlocked device and the QR code from your confirmation email.
Good to know: installing doesn't start your data plan's countdown. Most plans only activate once your device connects to a network at your destination — so you can set up the eSIM well before you leave, stress-free.
Installing the eSIM on iPhone
Go to Settings → Cellular → Add eSIM and tap 'Use QR Code'. Scan the code from your email. Your iPhone detects the plan — confirm with 'Add Cellular Plan' and 'Continue'.
For the usage location choose 'Abroad', and for the plan type 'Data only'. Wait a moment, tap 'Done' — your eSIM is installed.
Installing the eSIM on Android (Samsung)
Open Settings → Connections → SIM manager and tap 'Add mobile plan'. Choose 'Scan carrier QR code' and scan the code from your email.
Confirm with 'Add' or 'Confirm' (the label varies by model) and tap 'Done' at the end. You can find the exact steps for both systems any time in our detailed installation guide.
Activate at your destination
Set the peydSIM as your data line and also enable data roaming for this eSIM — without it, nothing works abroad. If it stalls: toggle airplane mode for 30 seconds or restart the device.
We've collected more tips on activation, network selection and troubleshooting in our FAQ.